


Google Docs is a versatile and user-friendly online word processing tool that offers a wide range of features for creating and formatting documents. While it provides several formatting options, adding borders to your documents can be a powerful way to enhance their visual appeal and highlight important sections. In this blog, we will guide you through the steps to add borders in Google Docs, helping you create professional and polished documents.
Step-by-Step Guide:
1. Open your document


Open the Google doc you want to add a border to. If you’re using Google Chrome, type doc.new in the address bar to create a blank Google doc in a snap.
2. Create a 1×1 table
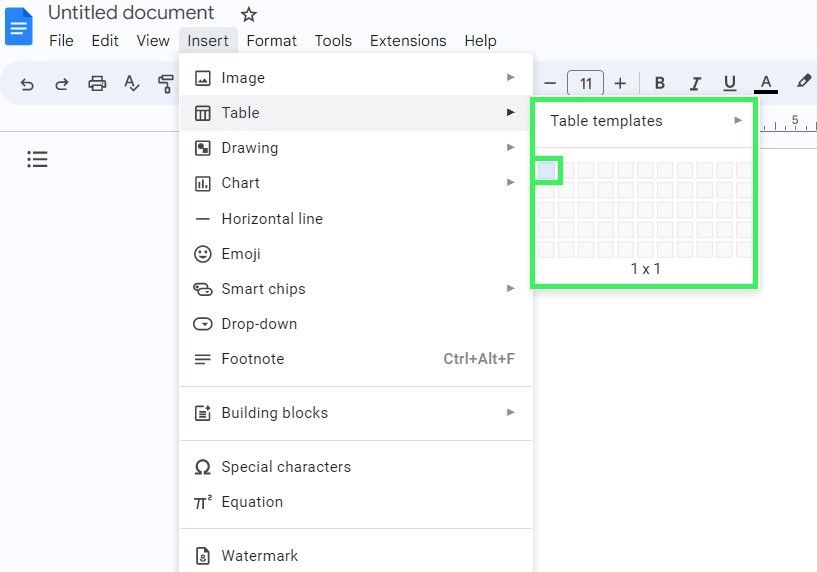

Click the Insert tab in the toolbar at the top of the page to open a dropdown menu. Hover over the Table option, and a grid will appear to the right. That’s where we’ll set the dimensions of our table. Click the first box in the upper-left corner to create a 1×1 table.
3. Extend the table
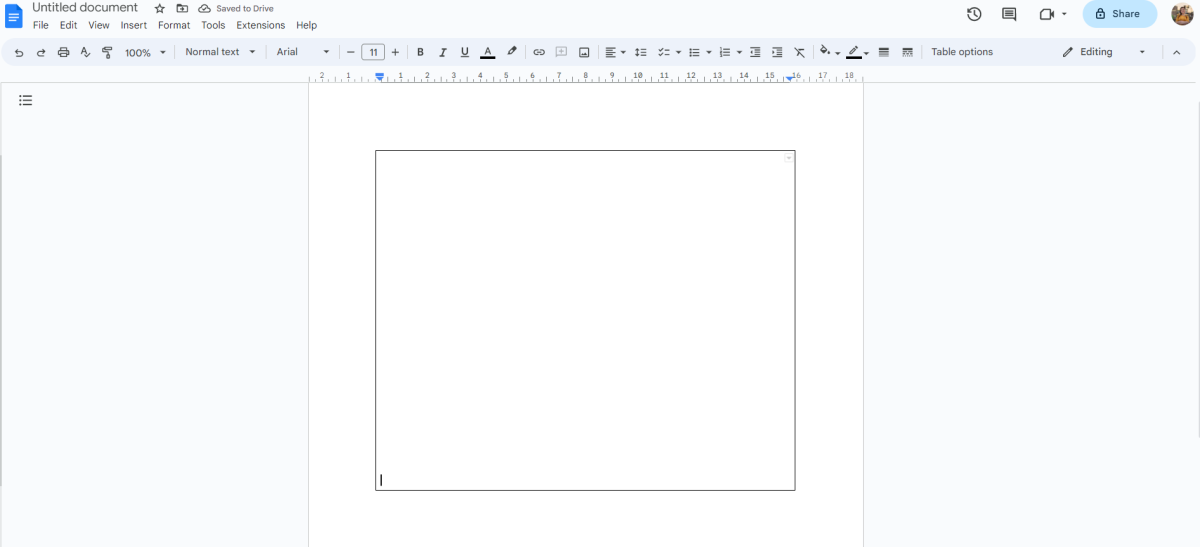

This 1×1 table will effectively work as a page-long border. But first, we need to make it fit to all four corners of the page. Click inside the table and hit Enter on your keyboard repeatedly until the table extends to the bottom of the page.
4. Customize your border
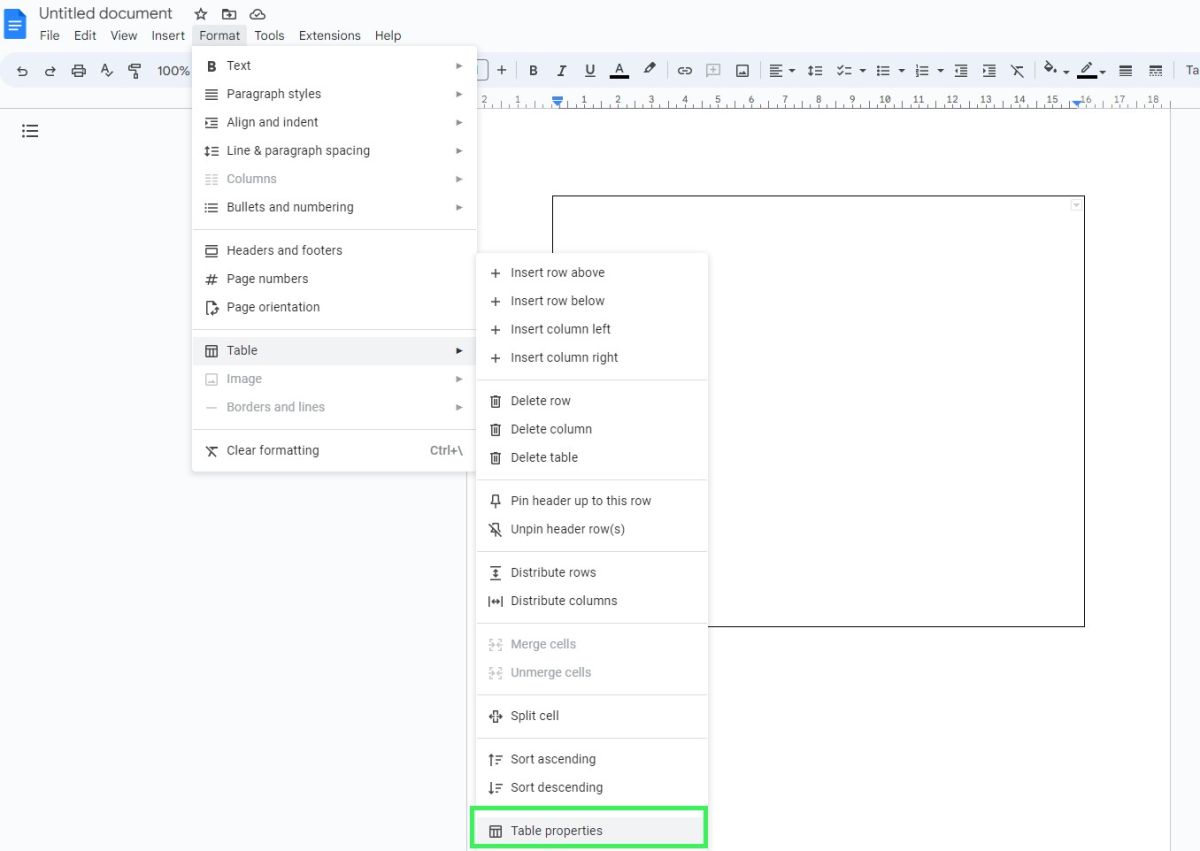

Hit the Format tab in the toolbar at the top of the page and hover over Table. Click on Table Properties. From there you can tweak the cell’s thickness and color or increase the padding to add a buffer of space around your border.
How to add a border using an image
Google Docs’ Drawing Feature lets you create and edit flowcharts, maps, and other types of diagrams. But it’s also handy for whipping up a page border of your own design.
1. Insert a drawing
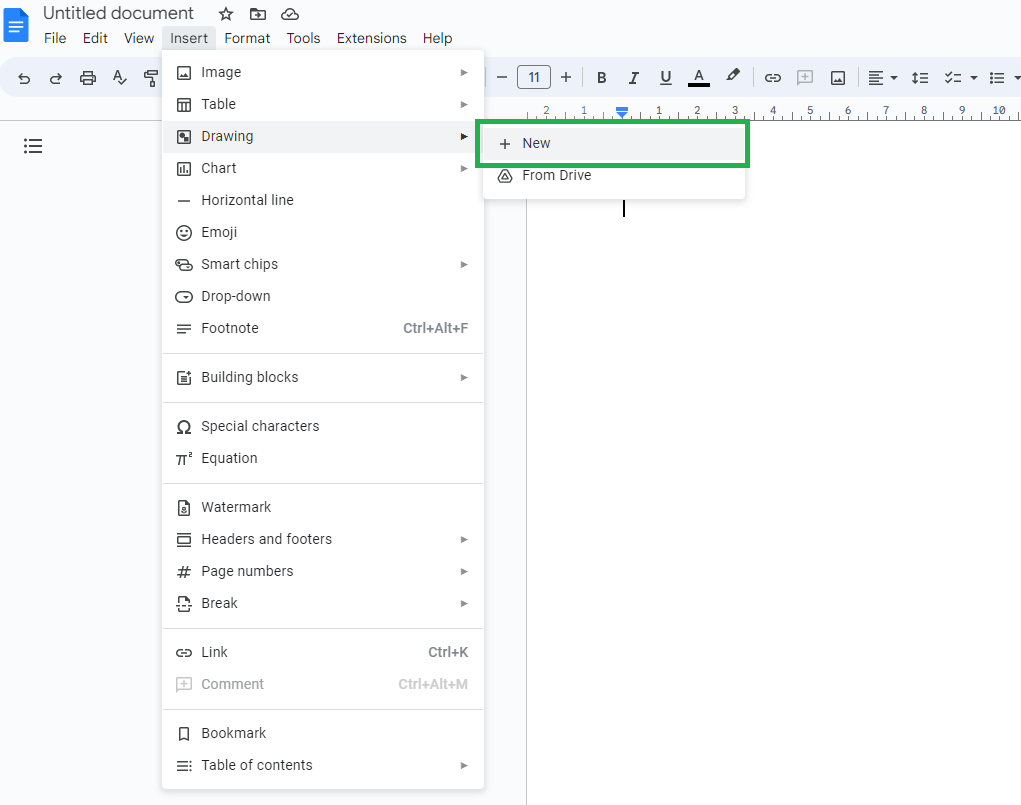

Click Insert in the toolbar and hover over the Drawing option. Select +New to create a drawing.
2. Choose your shape
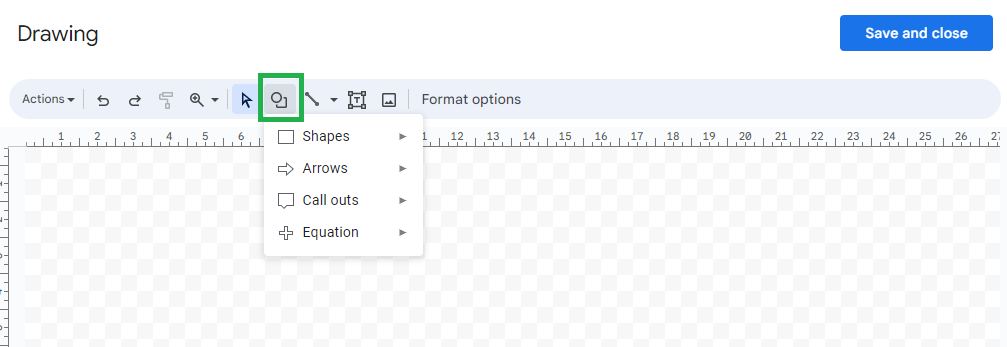

Click the Shape icon (the one with the circle and square) and select which shape you’d like your page border to be.
3. Draw your border
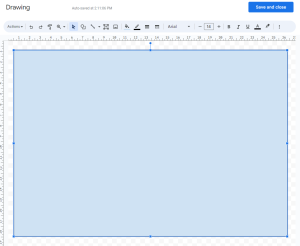

To draw your shape, click and drag your cursor within the checkered area. Using the drawing toolbar, you can further customize the look of your border. Don’t forget to click the Fill icon and select Transparent.
4. Hit Save
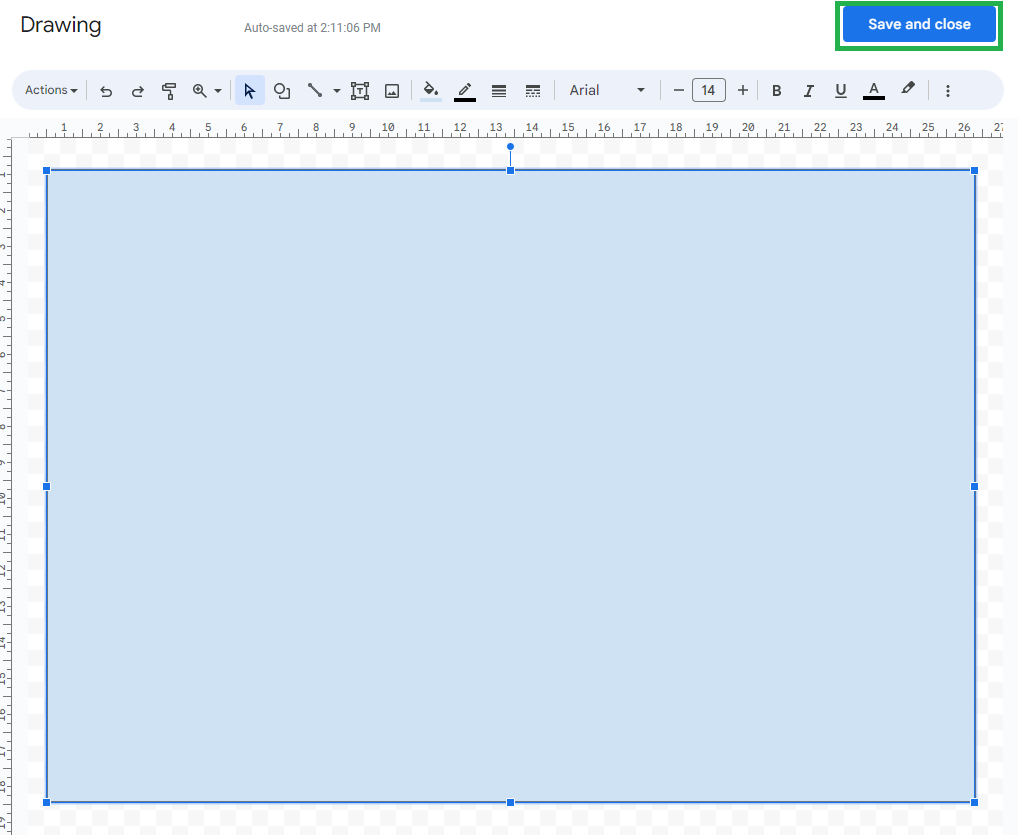

When you’re happy with the look of your new border, click the Save and Close option. You can then adjust its proportions in the document itself either by clicking and moving the shape’s anchor points or clicking the shape itself and selecting the Edit option, which will take you back to the drawing menu.
How to add a border around a paragraph
Google Docs also lets you add borders around a paragraph instead of a full page. Whether your paragraph is short and sweet or goes on forever, you can use a border to add a visual element that breaks up the monotony of your document.
1. Highlight your paragraph
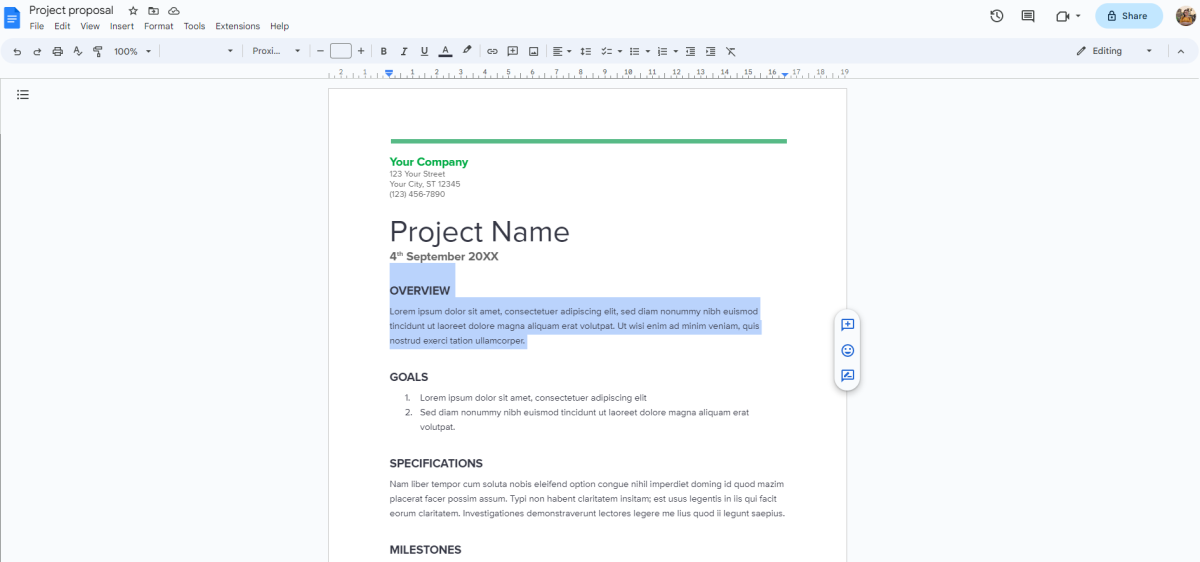

Move your cursor near the beginning or end of the paragraph you want to add a border too. Then click and drag your cursor over the entire paragraph to highlight it.
2. Add your border
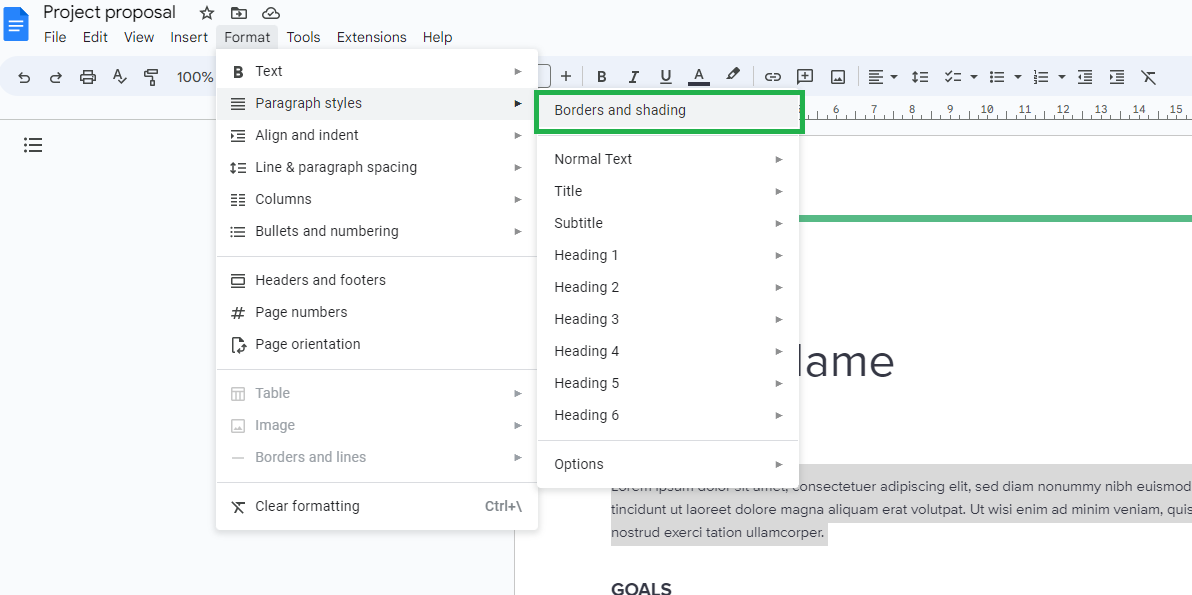

In the toolbar at the top of the screen, click Format and mouse over Paragraph Styles to open a drop-down menu. Select Borders and Shading.
3. Format your border


The Borders and Shading pop-up menu will appear. There you can tweak the border width, change the border to either a solid line, dots, or dashes, and choose the border’s colors and padding.
4. Hit Apply to set your border
Once you’re happy with how it looks, click the Apply button to set your border.